 pespes
Step1: Location : 
Locate where you wish to place your pond.Then draw the outline of it, out on the ground. During this step you will wish to call in your electrician to run an approved GFCI outlet to your pond. Also allow for an external filter if that is the type you have purchased.
Step 2 : Excavation : 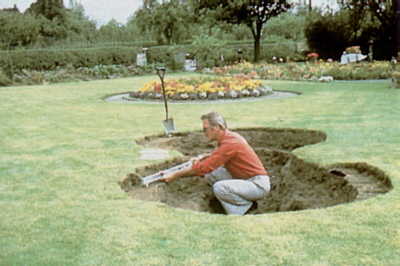
Excavate the area you have just marked out. Excavate different levels in your pond to allow for placement of plants that need different depths of water.
Step 3 : Prep work : 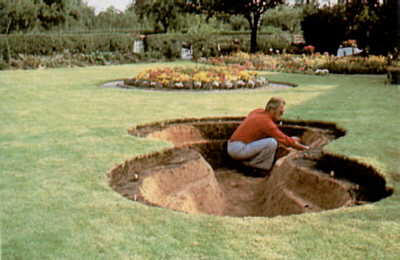
Check your excavation for sharp rocks, twigs, etc. that could cause a puncture of your liner. Then place a liner underlayment product or sand inside your excavated hole.
Step 4 : Liner Placement : 
Place your liner over your excavated hole. Place a hose with the water on,in the center. Allow the water to weigh down the liner. You are now ready to get your feet wet. As the water spreads out the liner and holds it in place. You need to get in and remove the wrinkles and folds.
Step 5 : Trim Liner : 
After you have satisfactorily removed the wrinkles from the liner. You can now trim it to fit. IMPORTANT: It is better to trim off too little at a time, than too much. Also leave some extra around the finished excavation.
Step 6 : Edging Placement : 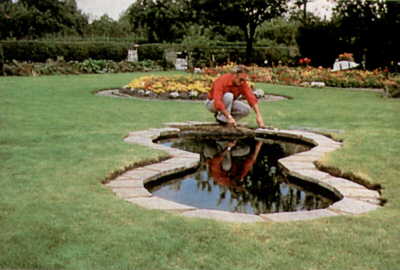
Place a stone product or other product of your choice. Around the periphery of your pond. You can now trim off the last excess remnants of your liner.
Step 7 : Plants : 
You can now place your plants, fish and pump into the pond. Making sure to de-clorinate the water before hand. Now sit back and admire your accomplishment.